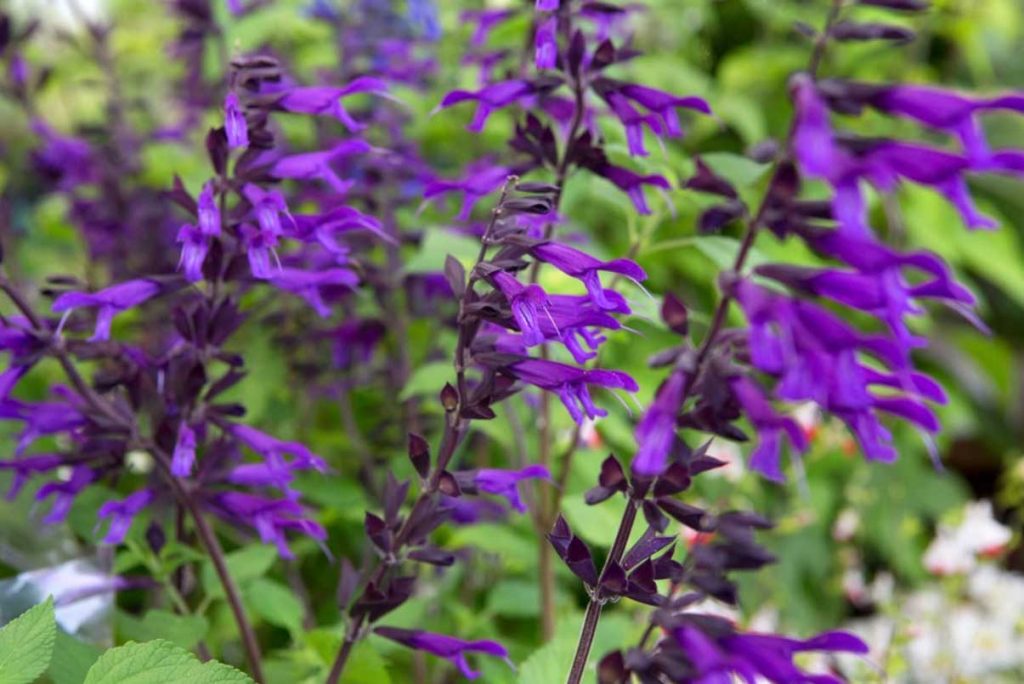
Salvias are one of the highlights of the mid and late summer garden. Salvia Amistad is an airy dark purple salvia with beautiful arching flowers that bend over lower plants. It takes very little ground space to grow. You can pop it in under some flopping nepeta foliage and as long as the top leaves are above and up in the air it will reward you with continuous flowers until the end of the summer. I have trouble keeping this salvia through the winter with my wet clay soil, so I bring one plant into the greenhouse over the winter and make loads of cuttings in the Spring. Don’t give up on a favourite plant just because the soil conditions are not right – just learn what they need.
Beware of slugs is my only warning as they LOVE these salvias when they are small so grow them on in a pot until they are well above slug reach for the best results.
Follow these steps to make your new Salvia Amistad:
Step 1 : Find a few leafy stem, preferably without a flower and cut it below a pair of leaves with a clean sharp knife.

Step 2 : Strip off the lower two pairs of leaves carefully from the stem using a knife.

Step 3: In this instance the remaining leaves are rather large so cut the larger ones in half.

Step 4 : Fill a small plastic pot with seed and cutting compost. I have tried using terracotta for cuttings, but the terracotta draws water from the cutting, and they seem to dry out too quickly and don’t take.

Step 5 : Make a hole in the compost using a pencil.

Step 6 : Slide the cutting into the compost hole as far as possible very gently.

Step 7 : Very gently firm the soil around the cutting. Repeat with three more cuttings until the pot has four cuttings.

Step 8 : Water gently and leave in a shady place out of the direct sun, keep moist and keep an eye on it, don’t let them dry out and don’t get them too wet. You are battling between drying out and rotting but starting with these Salvias is a good one as they are really easy. I leave them on the floor of my greenhouse in the shade but protected from too much weather.
Step 9 : When you see the roots coming out of the bottom of the pot and the cuttings have grown new leaves above, they are ready! Separate the seedlings into four pots and grown on until they are around 60cm high – after which you can plant them in the ground. If you have clay soil you may need to lift them over the winter but try the first winter and see, they can be hardy in the right environment. It’s the wet they don’t like, not necessarily the cold.

From one salvia bought from the garden centre you can have many – if you start early enough you can take cuttings of cuttings and give them to friends – these really are the easiest plant to start with!
26 June 2020